US State By State Spider Guide And Spider Identification Chart
If you don’t know your Brown Recluse from a Wolf Spider, or a Black Widow

If you don’t know your Brown Recluse from a Wolf Spider, or a Black Widow

When disaster strikes there are two things that are immediately essential: getting out of the

$10 and a few hours simple DIY in the garage gets you a 60 lb
Mora Knives aside, it can be difficult to find an affordable, quality bushcraft type survival
When I was a kid I watched a TV show called Alone In The Woods.
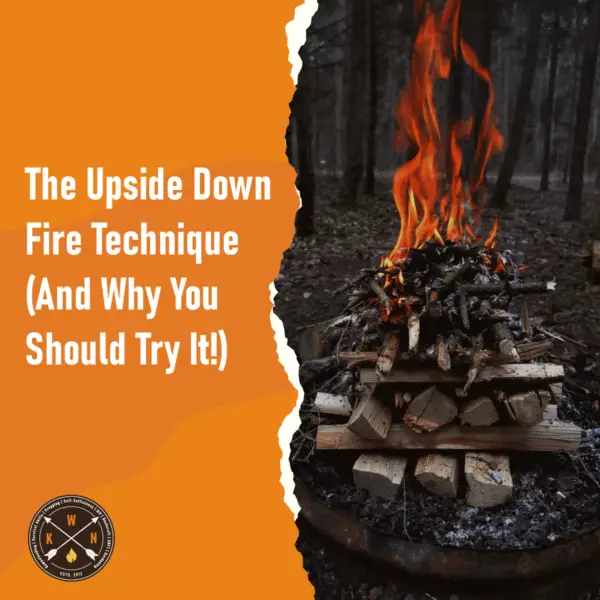
So what is an upside-down fire and why should you be using this technique to
There are many emergency and survival scenarios where you may need to get past a

This PVC tube homemade squirrel trap is useful for getting rid of pest squirrels and
