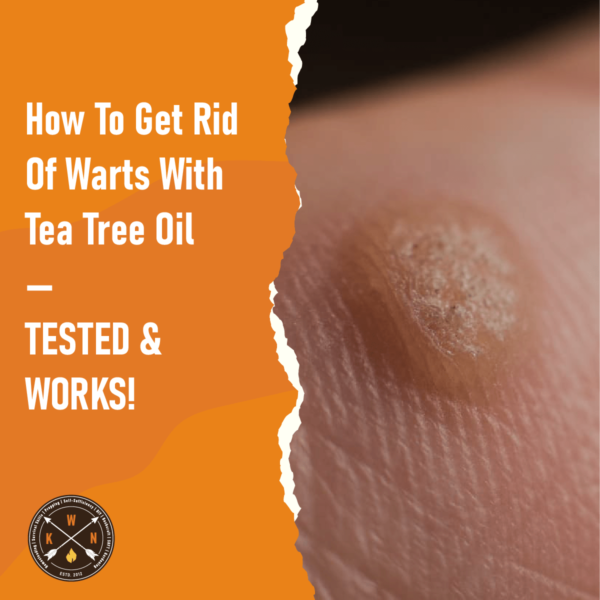
How To Get Rid Of Warts With Tea Tree Oil — TESTED & WORKS!
Both of our kids had plantar warts, also known as verrucas. They both swim, so

Both of our kids had plantar warts, also known as verrucas. They both swim, so
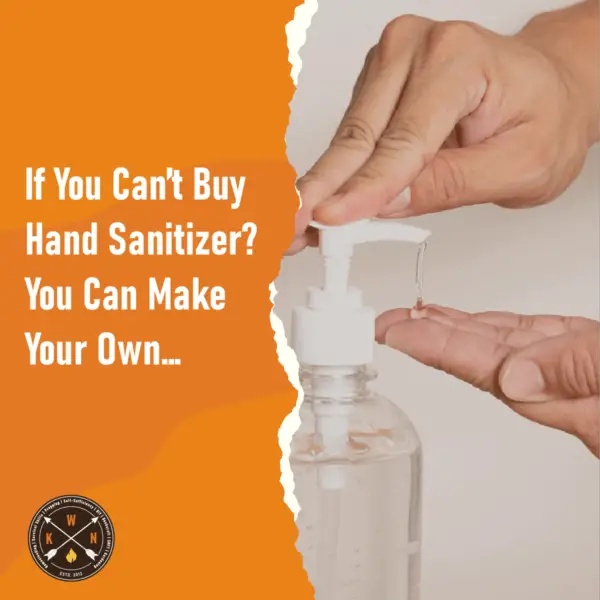
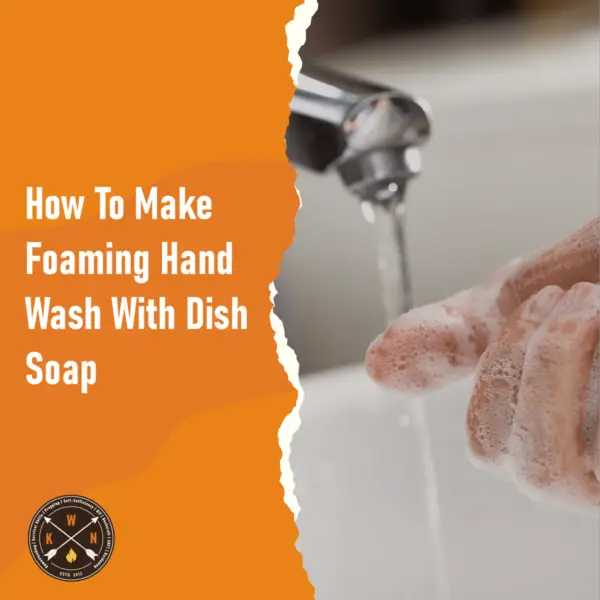
If you haven’t already stocked up on hand sanitizer, you are likely too late. People
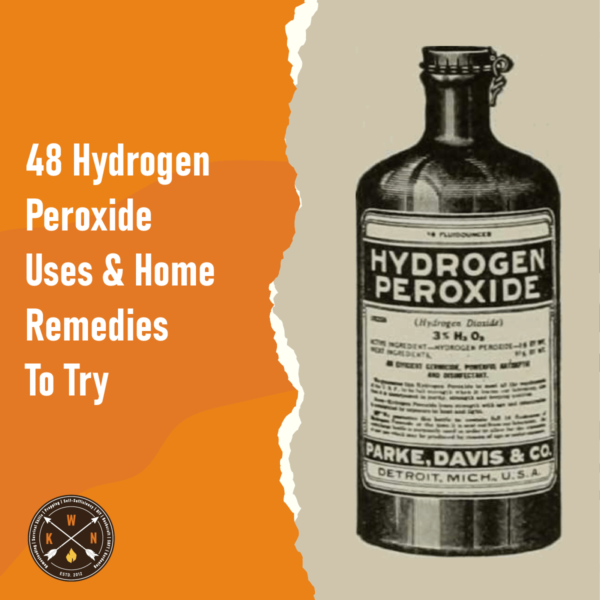
Hydrogen peroxide is a staple in almost every home first aid kit. While this product
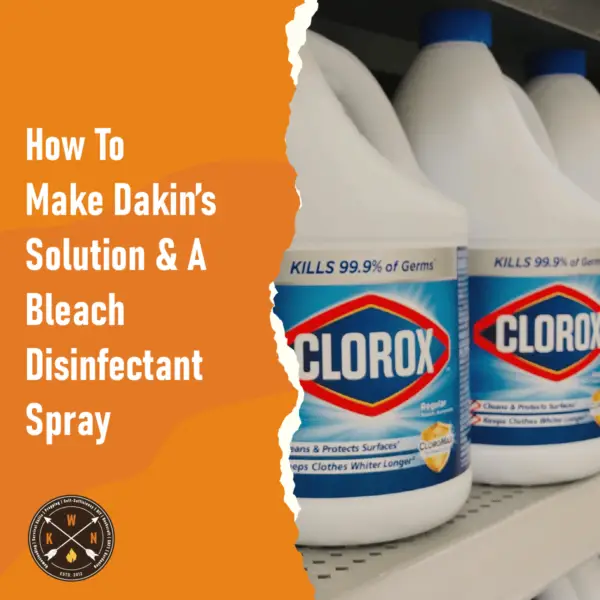
If you are interested in finding out how to make Dakin’s Solution, this is the
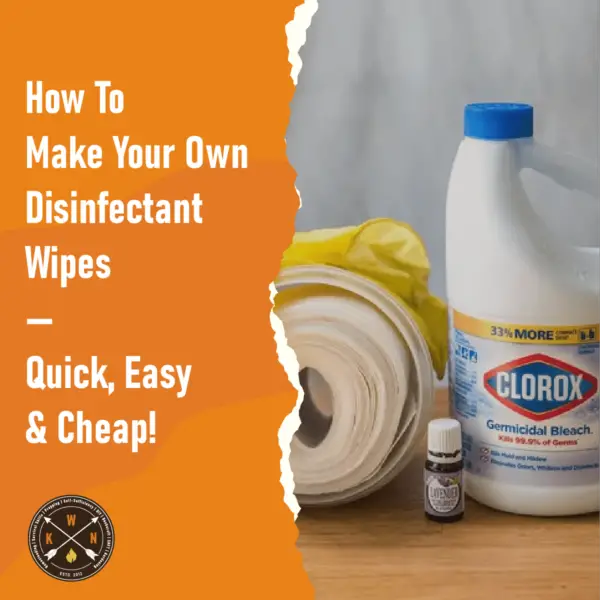
Since it has become difficult to buy disinfectant spray and disinfectant wipes in some countries
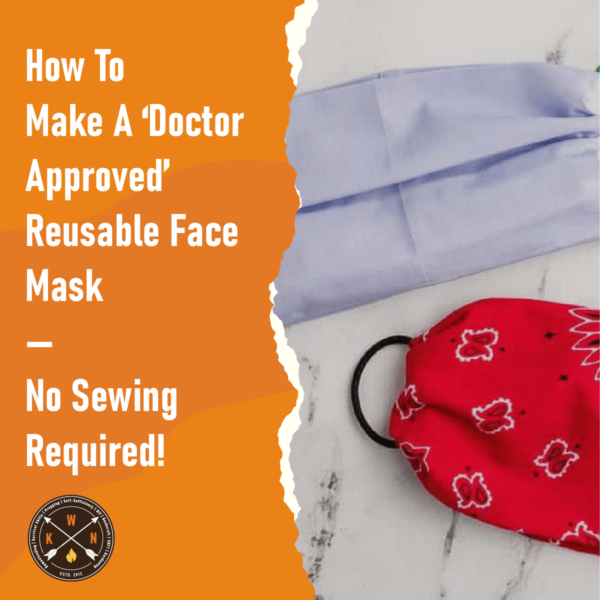
Firstly a disclaimer of sorts… Simple cloth face masks like the ones featured here are
It’s the end of March 2020 and most of us are stuck at home trying
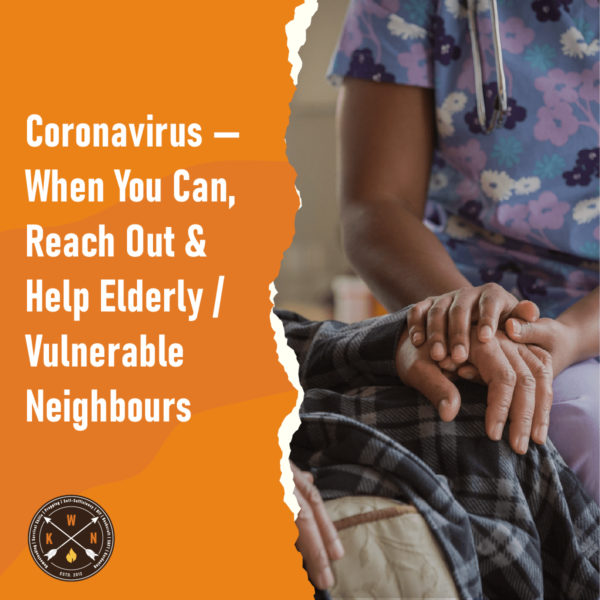
This coronavirus (Covid 19) pandemic will be difficult and worrisome for us all. It is