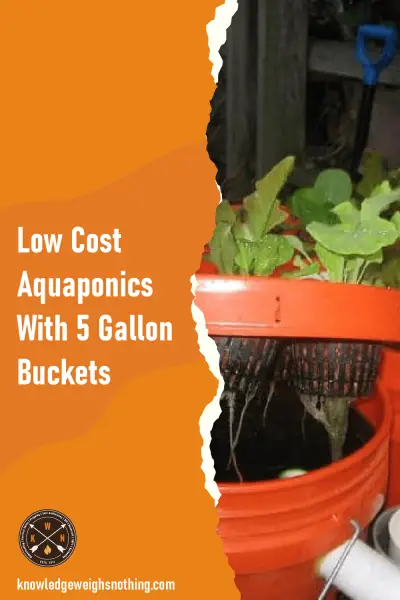
Low Cost Aquaponics with 5 gallon buckets
Aquaponics is a sustainable method of farming that uses both water and sunlight to grow

Aquaponics is a sustainable method of farming that uses both water and sunlight to grow
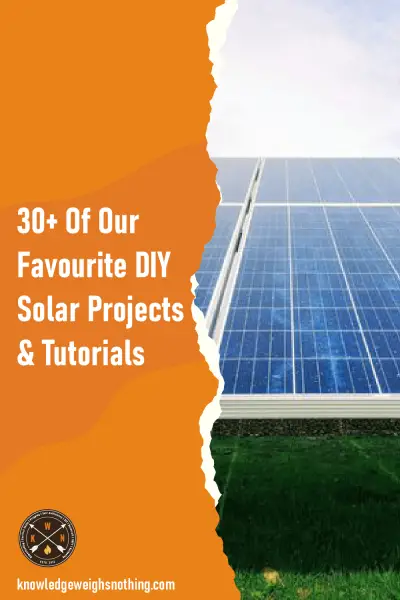
That’s right, there is a way you can get solar panels for free! I know
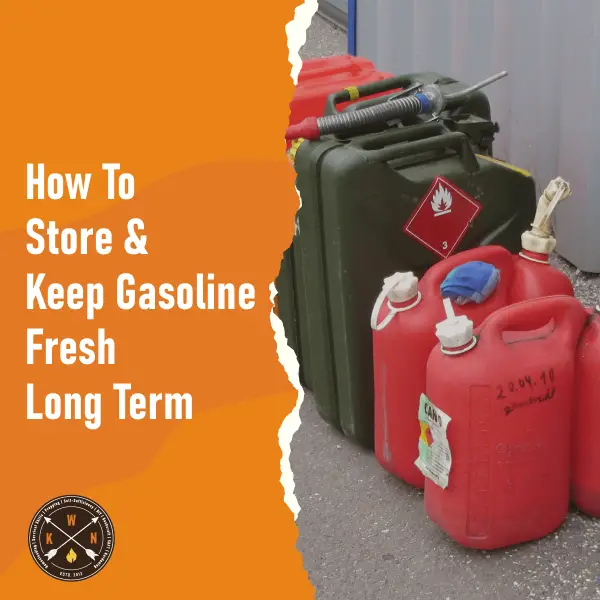
How to Keep and Store Gasoline Fresh for Longer If you simply buy gasoline and

Firstly, I cannot tell you how excited I was when I figured out how to
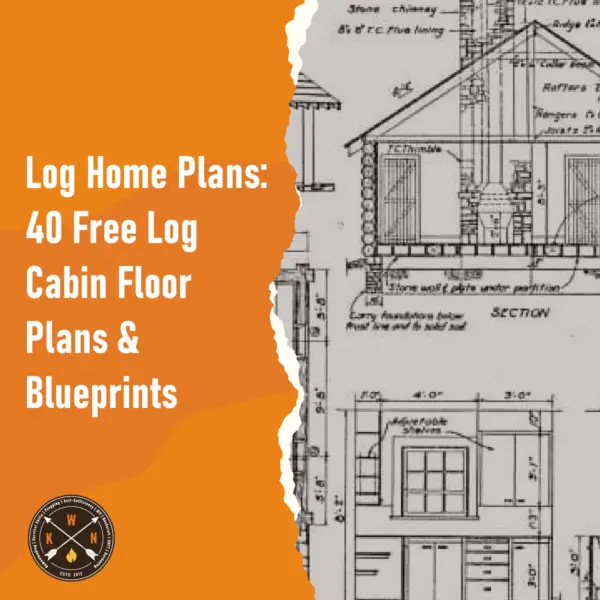
You can spend $100s on professional log cabin plans and blueprints, but before you do,
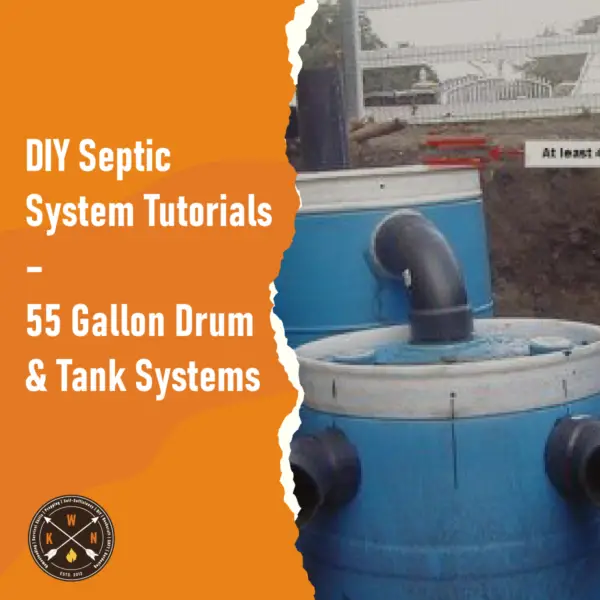
Yep, this post is about building a homemade DIY septic system from cheap plastic barrels
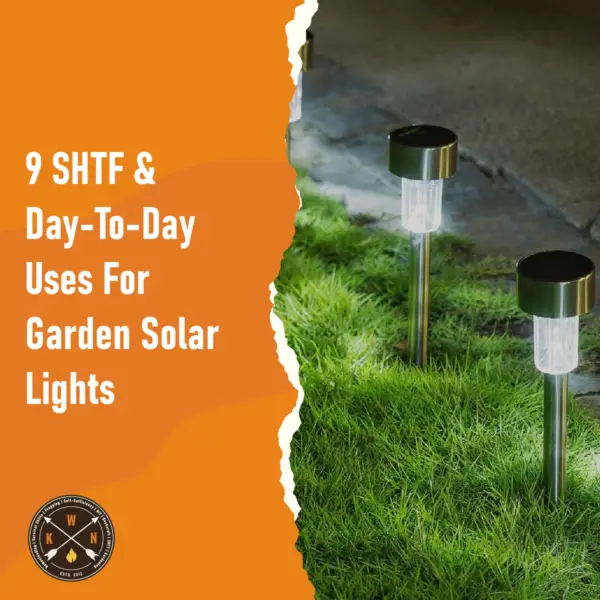
Garden solar lights cost as little as $1-2 each, but they can be incredibly useful
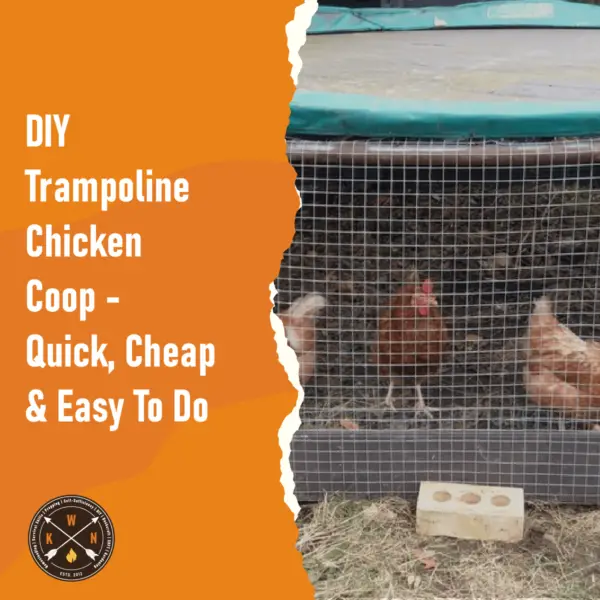
If you want to get some chickens, don’t buy an expensive ready-made chicken coop! There