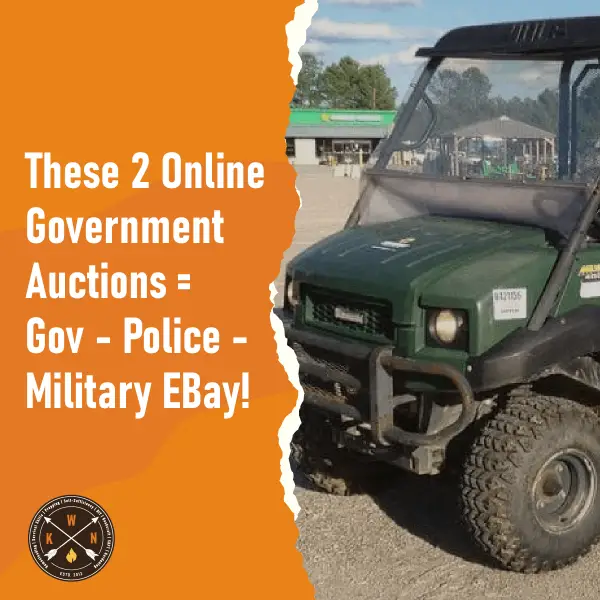
2 Little-Known Government Auctions – You Won’t Believe What You Can Buy!
UPDATED CONTENT 2025 What Can You Buy at These Government Auctions? Government auctions offer an

UPDATED CONTENT 2025 What Can You Buy at These Government Auctions? Government auctions offer an
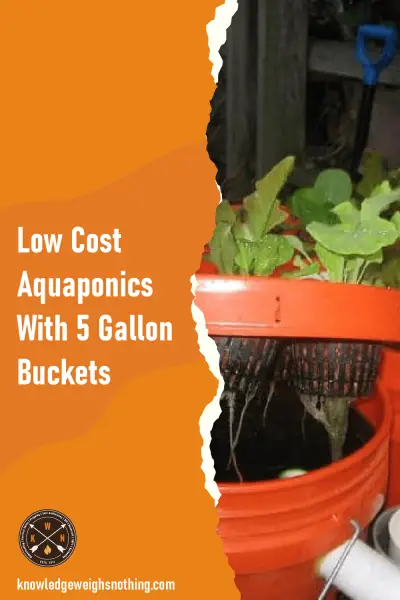
Aquaponics is a sustainable method of farming that uses both water and sunlight to grow

With the rising cost of gas and electricity, many folks are looking at ways to
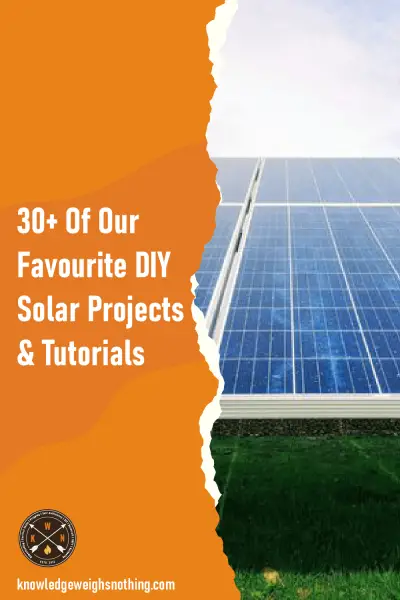
That’s right, there is a way you can get solar panels for free! I know
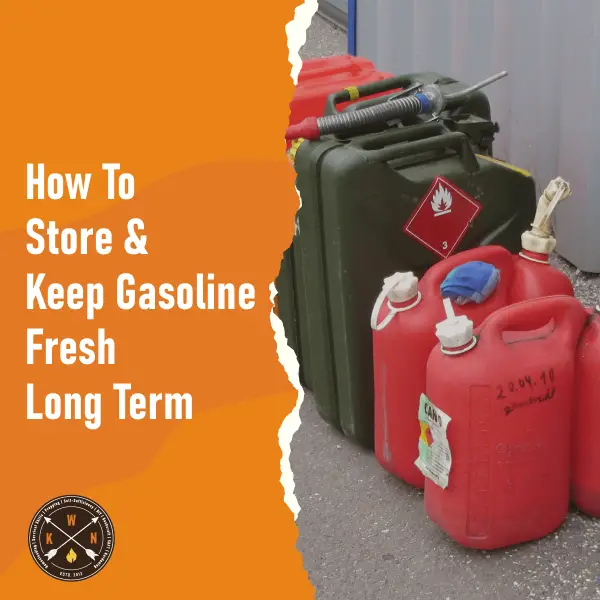
How to Keep and Store Gasoline Fresh for Longer If you simply buy gasoline and

Long burn, emergency candles are expensive. Crisco isn’t and you can make several emergency candles
Firstly, I cannot tell you how excited I was when I figured out how to
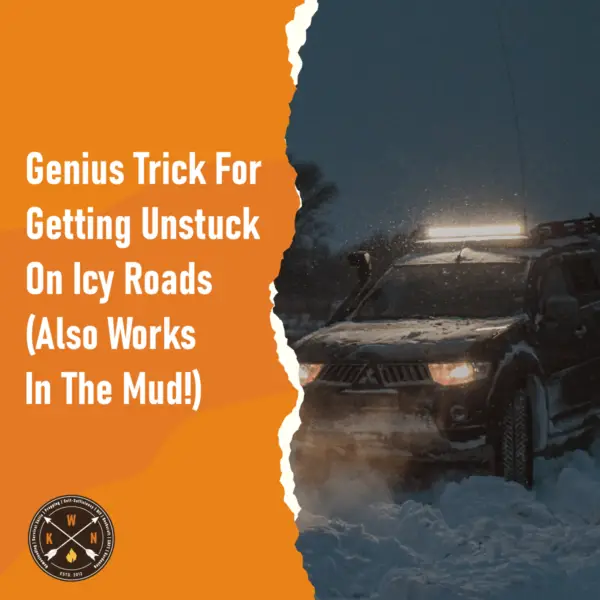
First things first – you should carry a snow shovel in your vehicle during winter.