
The ONLY Flea Treatment You’ll Need & It’s CHEAP & Homemade!
If you’re looking for ways to get rid of fleas without having to use chemical

If you’re looking for ways to get rid of fleas without having to use chemical

The sage plant is something we take for granted. Unlike most other herbs, it flowers
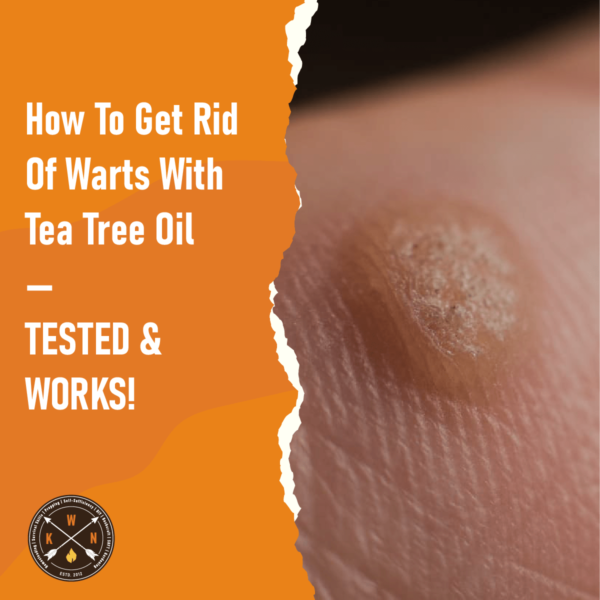
Both of our kids had plantar warts, also known as verrucas. They both swim, so
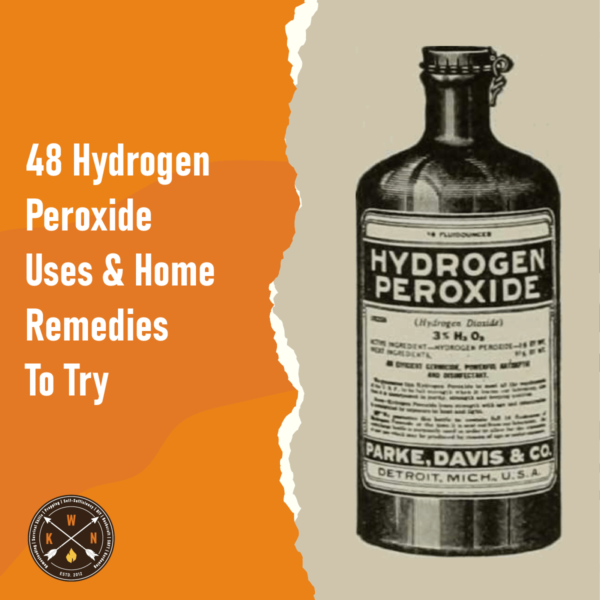
Hydrogen peroxide is a staple in almost every home first aid kit. While this product
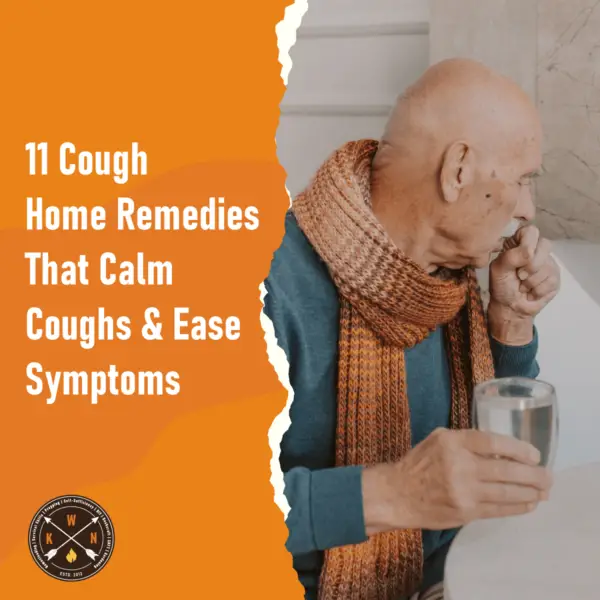
The onset of dry cough can be a sign of many different ailments. While a

You can use turmeric to reduce inflammation and pain related to inflammation. Make tea from
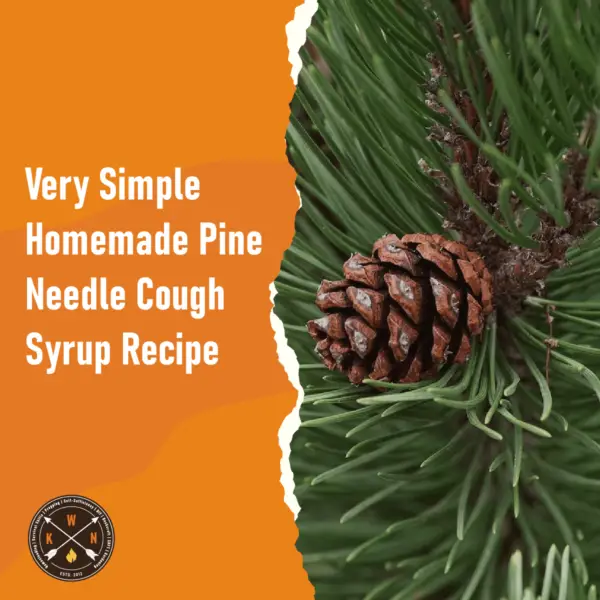
Whether you’re suffering from a common cold, seasonal allergies or a more serious illness, such
This home remedy is actually better than some of the over-the-counter solutions you can purchase