
2 Little-Known Government Auctions – You Won’t Believe What You Can Buy!
UPDATED CONTENT 2025 What Can You Buy at These Government Auctions? Government auctions offer an

UPDATED CONTENT 2025 What Can You Buy at These Government Auctions? Government auctions offer an

With the rising cost of gas and electricity, many folks are looking at ways to
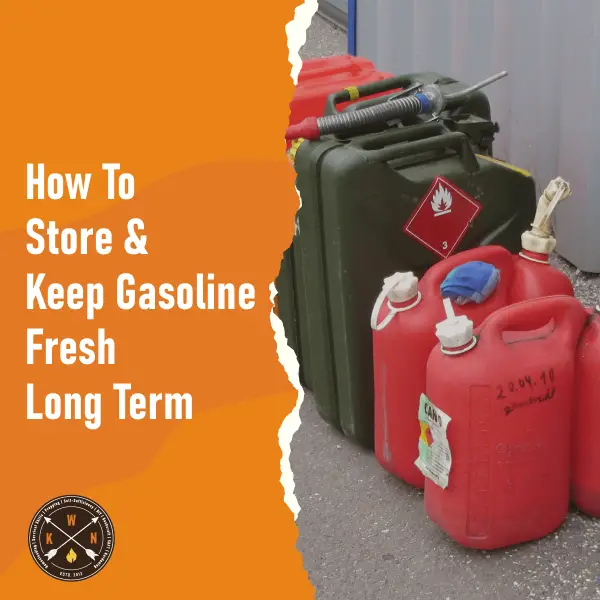
How to Keep and Store Gasoline Fresh for Longer If you simply buy gasoline and

Rope is a valuable tool but can be rendered useless if it is not stored
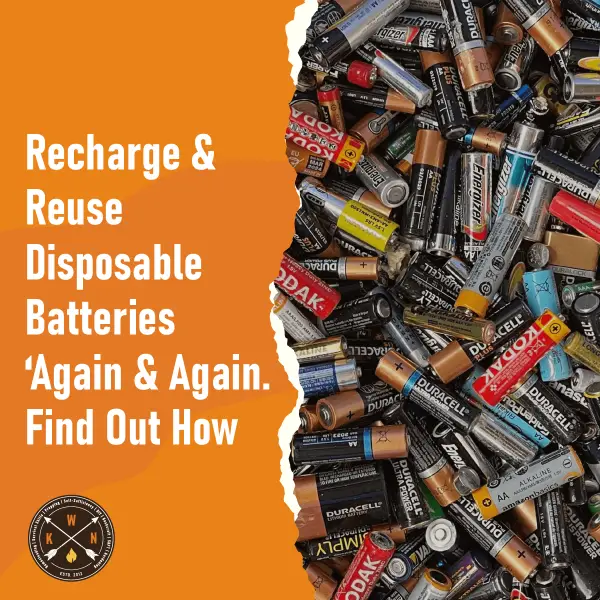
From an early age, I knew it was kind of possible to reuse disposable, single-use

What a great idea! Purchase an off-the-shelf carport, assemble it, clad it with timber, add

These pesky, annoying little packets you get in pretty much everything from purses to boxed

Firstly, this is an entirely unbiased review. I am not being paid for doing this