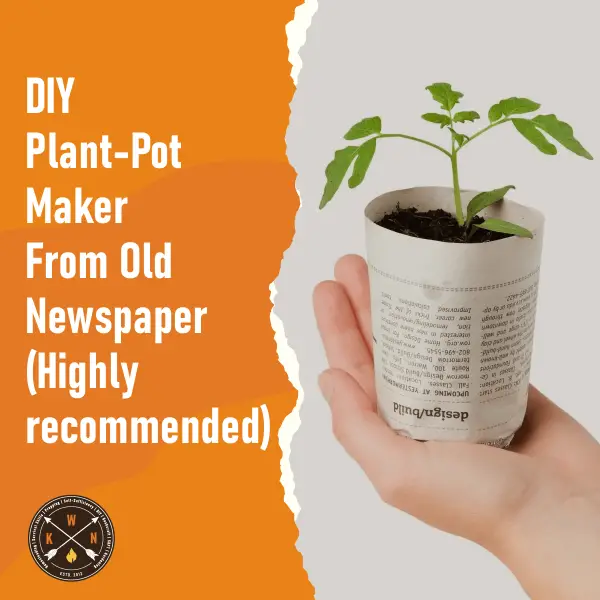
DIY Plant-Pot Maker From Old Newspaper
I have had one of these for years and it is superb. Not only do

I have had one of these for years and it is superb. Not only do
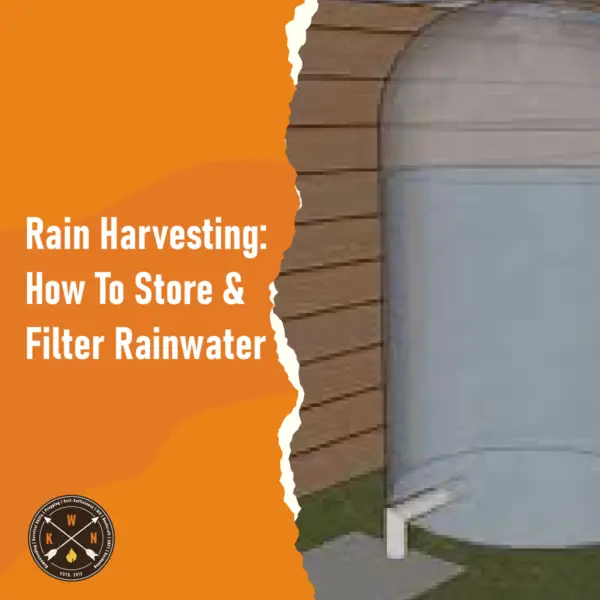
UPDATE: this post is a combination of a few smaller posts that were knocking around
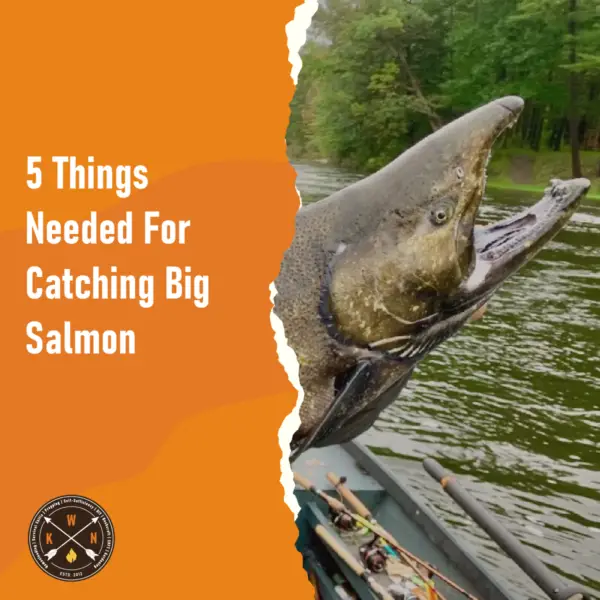
Salmon are one of the most famous sports fish that are widely distributed. The fish
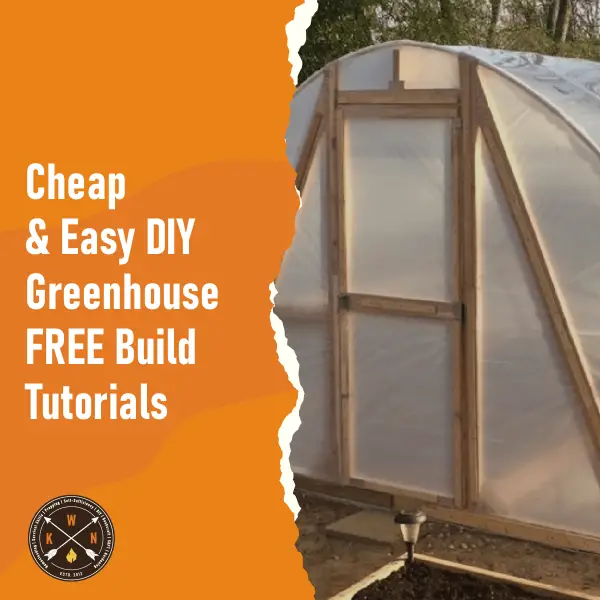
Below we have a round-up post comprising several shorter DIY greenhouse tutorial posts, we have
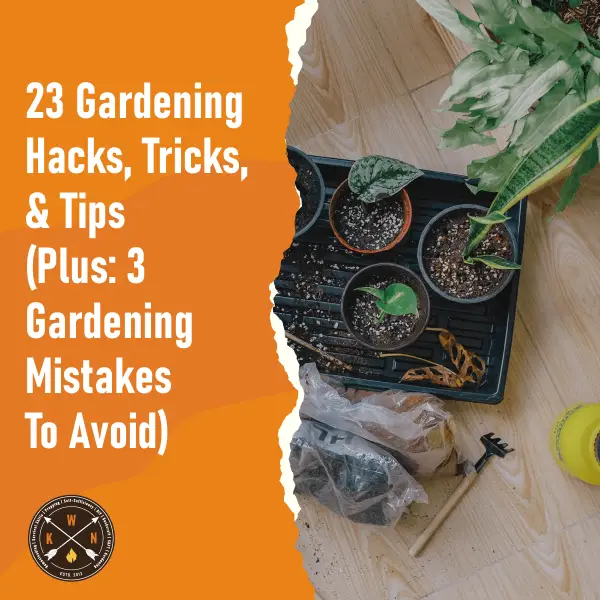
For some, gardening comes naturally — for millions of others, it’s an endless array of
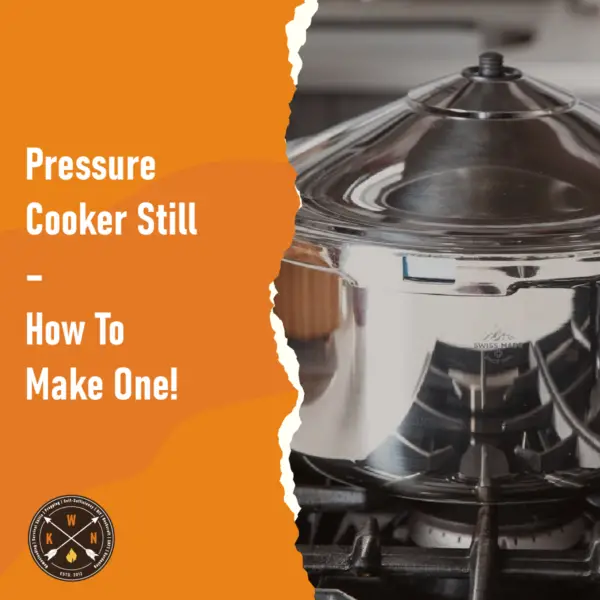
There are typically two things you can do with a pressure cooker still – distil
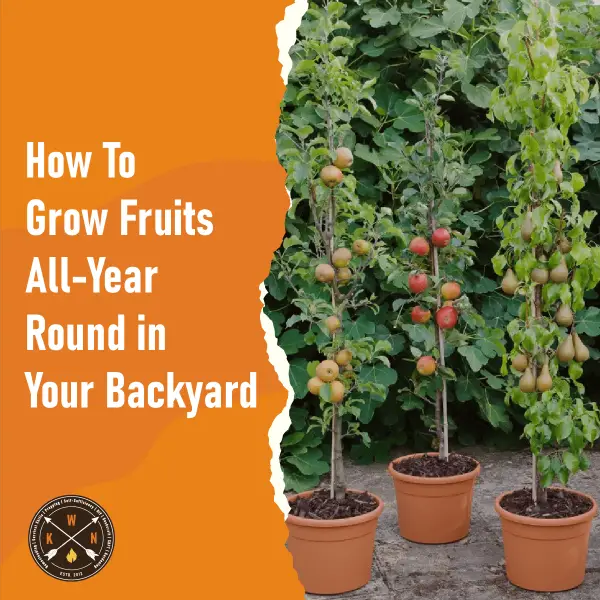
Due to its many health advantages, having at least one serving of fruit during every

For thousands of years, our feline friends have made their mark within civilization. Whether revered