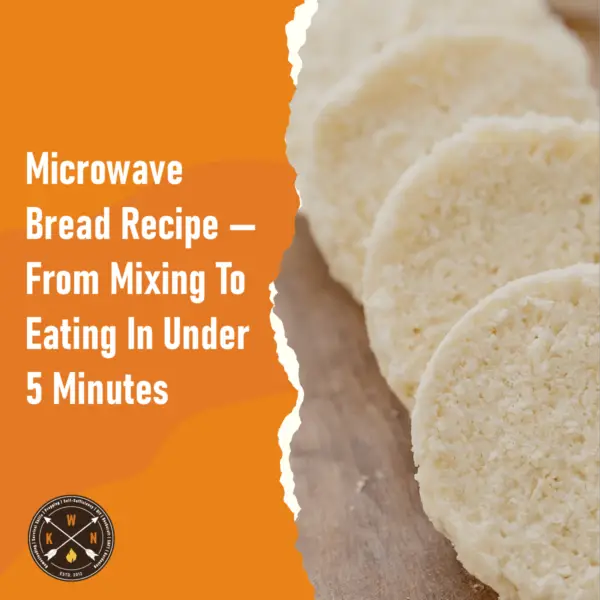
Microwave Bread Recipe — From Mixing To Eating In Under 5 Minutes
A simple, no-bake, no prove, microwave bread recipe that you can literally make from start

A simple, no-bake, no prove, microwave bread recipe that you can literally make from start

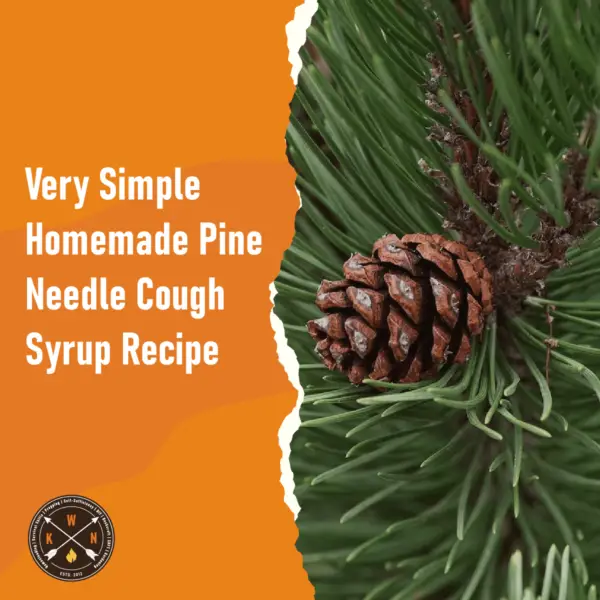
The onset of dry cough can be a sign of many different ailments. While a

So you’re looking for some moonshine recipes? That’s quite understandable as there are few things

If you don’t know what a mountain pie is, it is basically a grilled sandwich
Whether you’re suffering from a common cold, seasonal allergies or a more serious illness, such
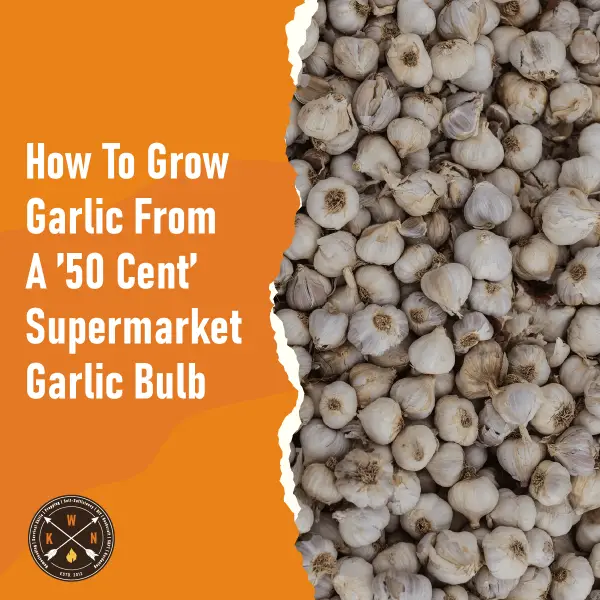
Ok, this is fairly simple, but it always surprises me how many people don’t know

Witch hazel (Hamamelis virginiana) is a flowering shrub/tree which is common in North America and Japan.
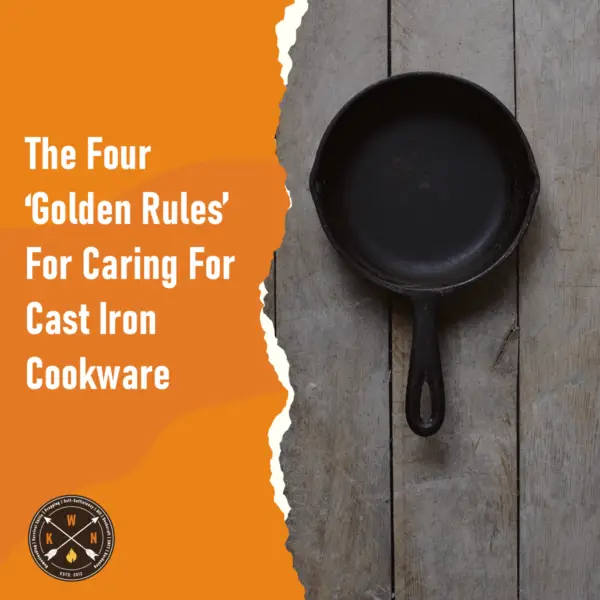
Rule 1: Don’t wash cast-iron cookware like normal pots and pans. Don’t wash cast-iron cookware like