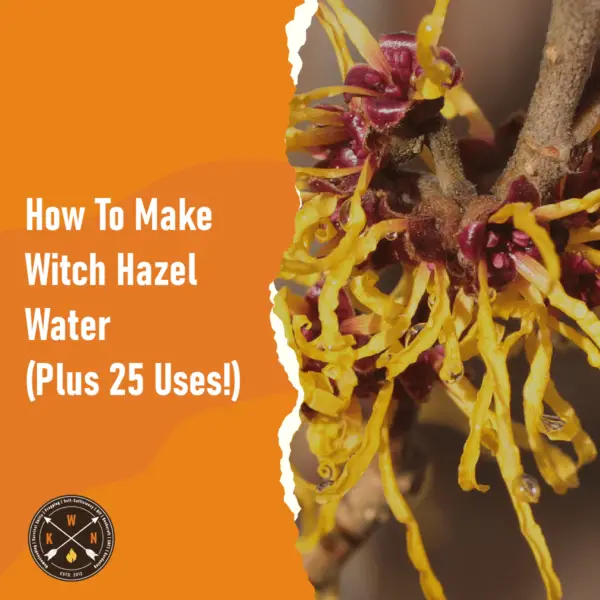
How To Make Witch Hazel Water (Plus 25 Uses!)
Witch hazel (Hamamelis virginiana) is a flowering shrub/tree which is common in North America and Japan.

Witch hazel (Hamamelis virginiana) is a flowering shrub/tree which is common in North America and Japan.
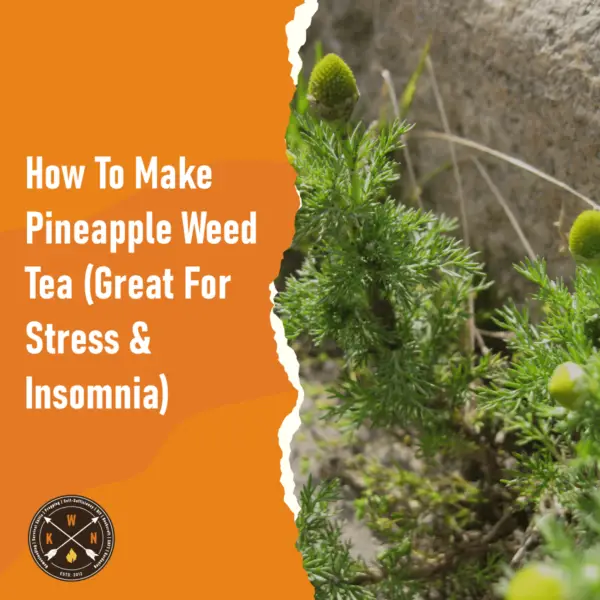
You have probably seen pineapple weed thousands of times but never given it a second
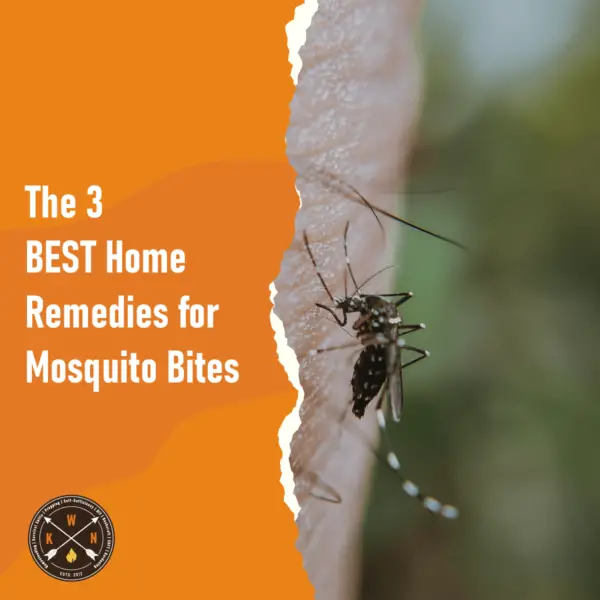
You’re enjoying a lovely evening with your friends or family, when the familiar ‘buzz’ begins
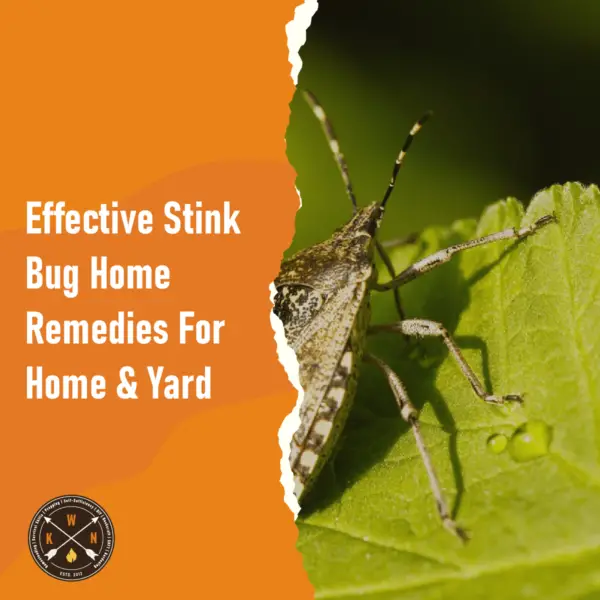
Stink bugs are a huge pain in the a**. Once these small pests take over
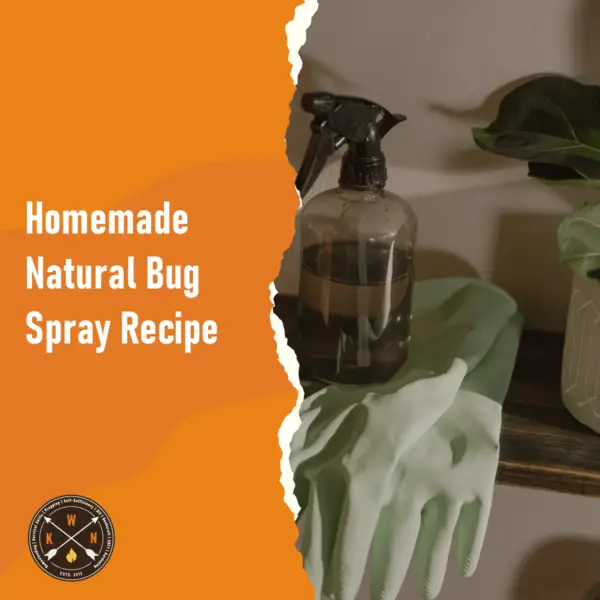
If you purchase bug spray it will likely contain a chemical called DEET. Simply put

So you want to find out how to remove skin tags in the privacy of
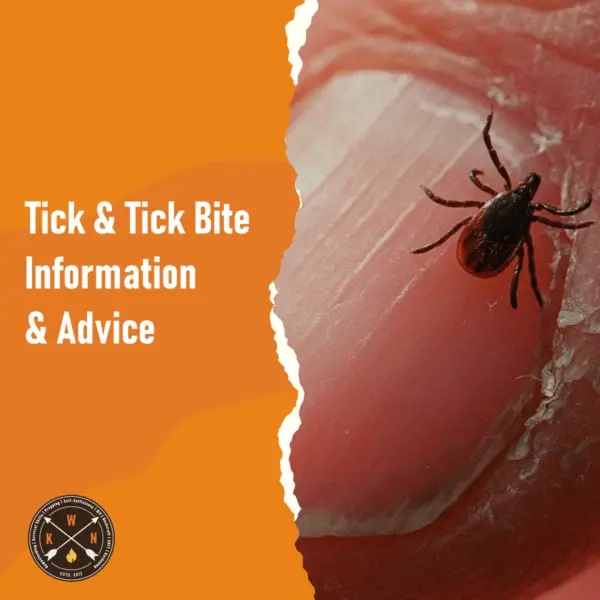
Before we discuss natural tick repellent recipes and tick bite prevention, let’s take a moment
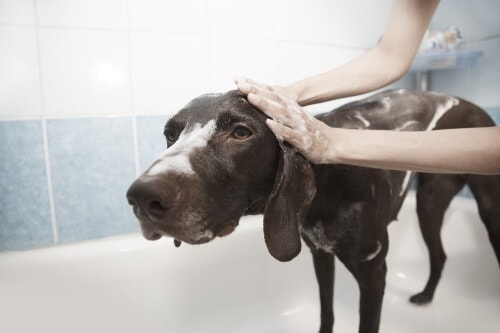
Fleas are one of the biggest problems any pet owner has. Once your pet has