
*NEW* 3 Homemade Dog Food Recipes Your Dog Will Love
Three homemade dog food recipes PLUS two bonus dog snack recipes! These recipes are very

Three homemade dog food recipes PLUS two bonus dog snack recipes! These recipes are very
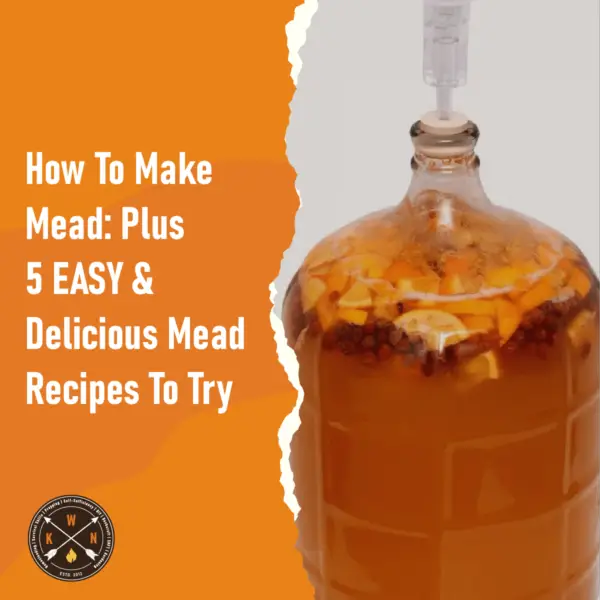
Mead makes for one of the oldest alcoholic drinks in history and, using a basic
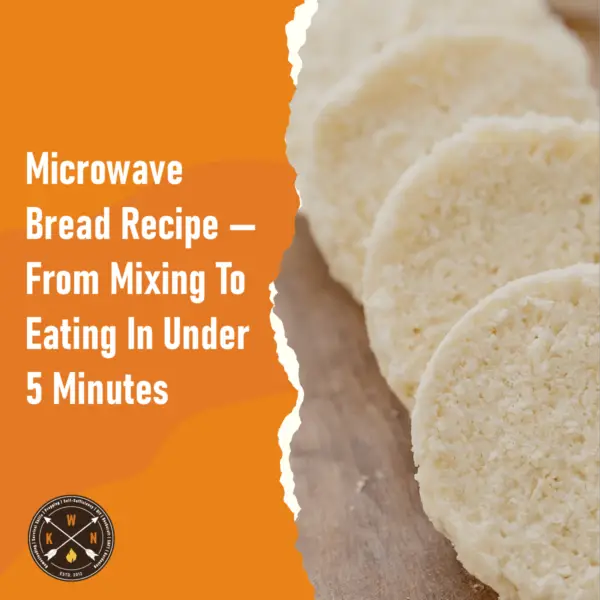
A simple, no-bake, no prove, microwave bread recipe that you can literally make from start
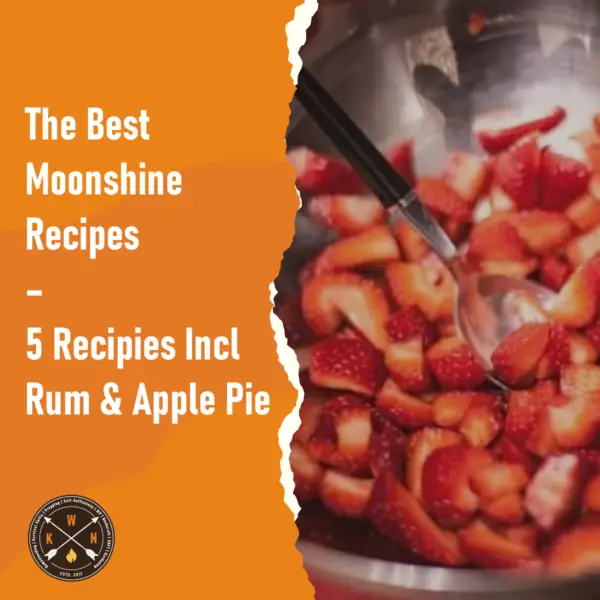
So you’re looking for some moonshine recipes? That’s quite understandable as there are few things

If you don’t know what a mountain pie is, it is basically a grilled sandwich
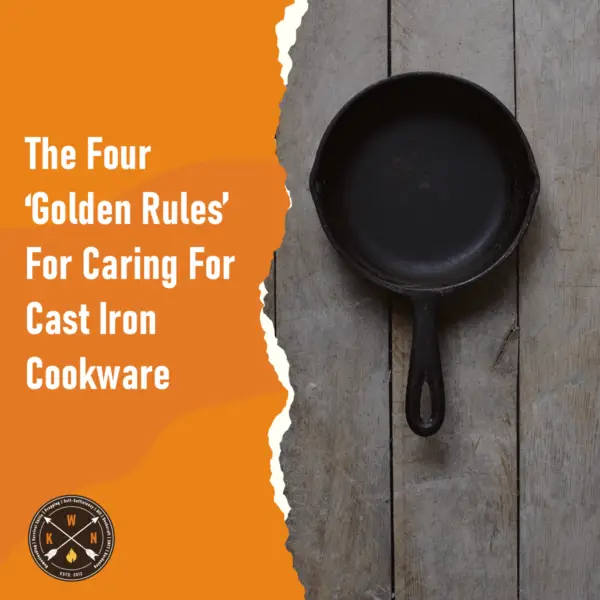
Rule 1: Don’t wash cast-iron cookware like normal pots and pans. Don’t wash cast-iron cookware like

Firstly – nothing will keep forever if it is not stored correctly in the right
A while back I did the post ‘Make Mozzarella From Milk In Just 30 Minutes’ which
