Homemade Natural Bug Spray Recipe
If you purchase bug spray it will likely contain a chemical called DEET. Simply put

If you purchase bug spray it will likely contain a chemical called DEET. Simply put
This PVC tube homemade squirrel trap is useful for getting rid of pest squirrels and
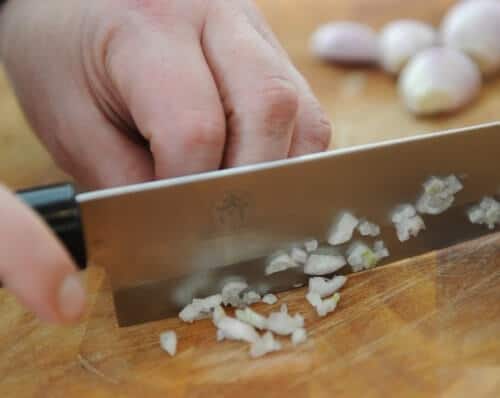
Of all the ants in the US, none is feared or loathed as much as
If you want to know how to get rid of cockroaches without expensive and nasty
From time to time, we have had problems with rats… We didn’t want to pay
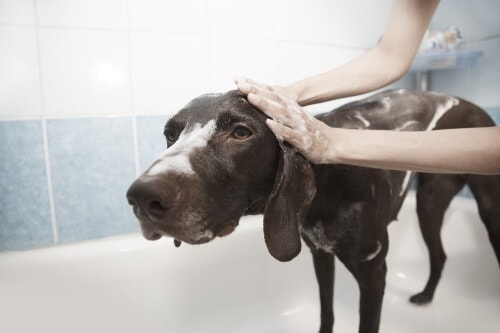
Fleas are one of the biggest problems any pet owner has. Once your pet has
So finally, after several requests, here’s a post about a natural homemade flea killer spray

Before delving into how to get rid of carpenter bees without killing them, let’s take