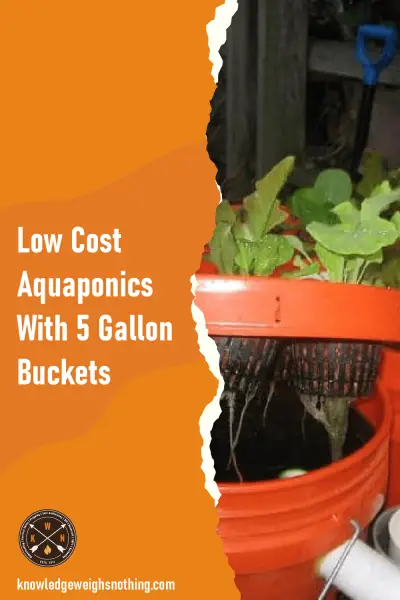
Low Cost Aquaponics with 5 gallon buckets
Aquaponics is a sustainable method of farming that uses both water and sunlight to grow

Aquaponics is a sustainable method of farming that uses both water and sunlight to grow
No matter whether you grow some vegetables in your back garden as a hobby or
This post is a round-up of smaller posts that were previously featured on Knowledge Weighs
Ok, this is fairly simple, but it always surprises me how many people don’t know
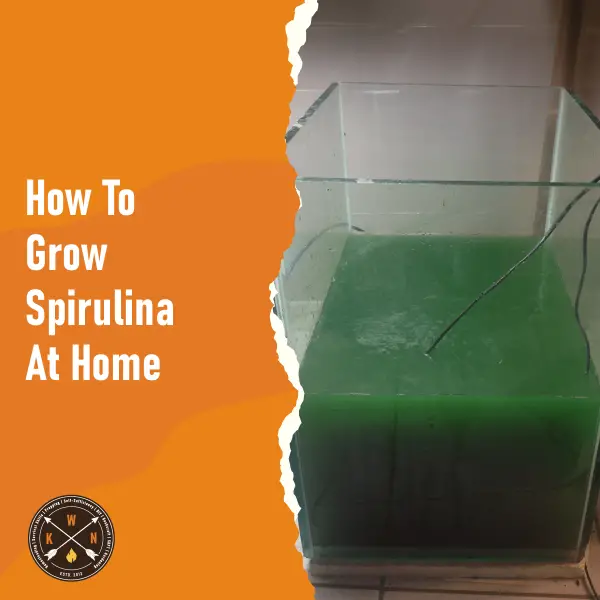
A while back I was watching Doomsday Preppers and there was this guy, I think

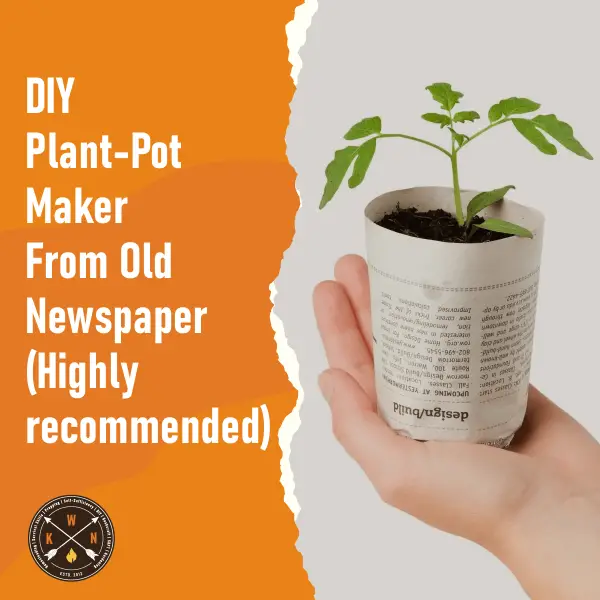
Basically — buy one onion/grow one and get one FREE! If you are like most
I have had one of these for years and it is superb. Not only do
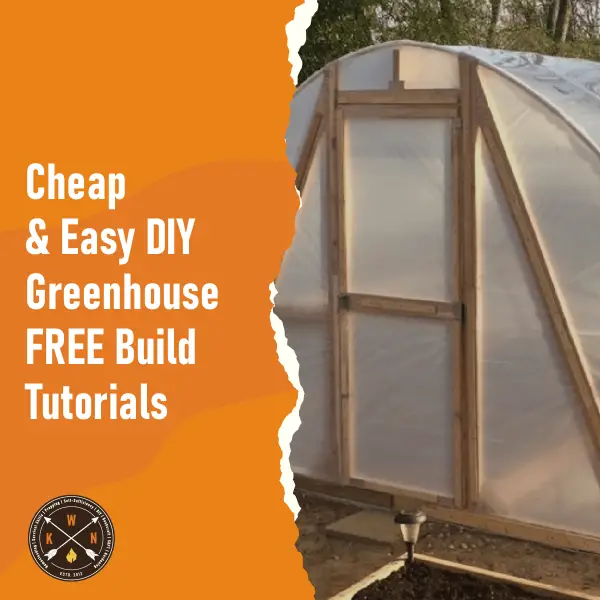
Below we have a round-up post comprising several shorter DIY greenhouse tutorial posts, we have