
2 Little-Known Government Auctions – You Will Not Believe What You Can Buy!
Did you know that you can buy military (plus police and other government depts) vehicles,

Did you know that you can buy military (plus police and other government depts) vehicles,

With the rising cost of gas and electricity, many folks are looking at ways to
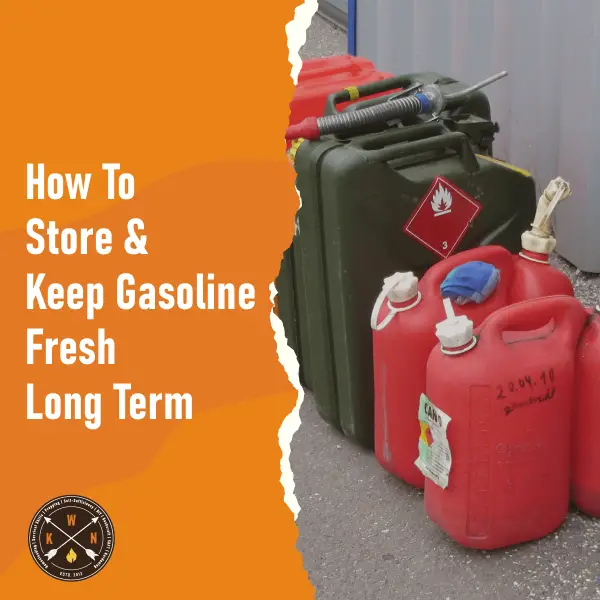
With the Russian invasion of Ukraine and the rising fuel costs and uncertainty, lots of
Did you know that you can buy military (plus police and other government depts) vehicles,
With the rising cost of gas and electricity, many folks are looking at ways to
With the Russian invasion of Ukraine and the rising fuel costs and uncertainty, lots of

Both of our kids had plantar warts, also known as verrucas. They both swim, so

If you haven’t already stocked up on hand sanitizer, you are likely too late. People
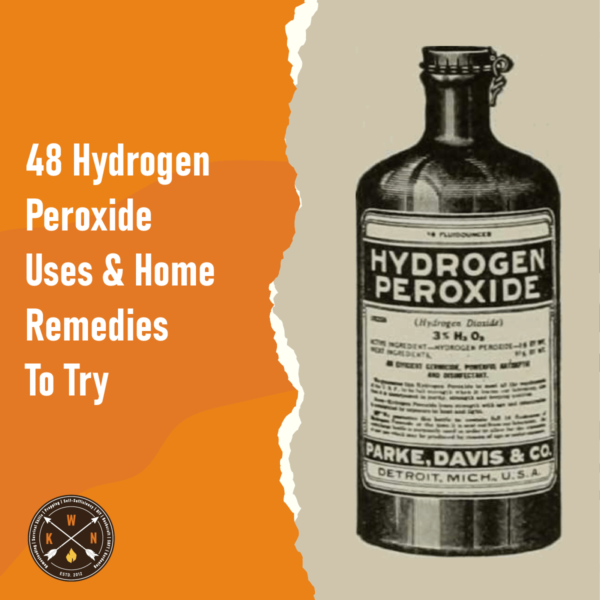
Hydrogen peroxide is a staple in almost every home first aid kit. While this product

If you’re looking for ways to get rid of fleas without having to use chemical

The sage plant is something we take for granted. Unlike most other herbs, it flowers
Both of our kids had plantar warts, also known as verrucas. They both swim, so
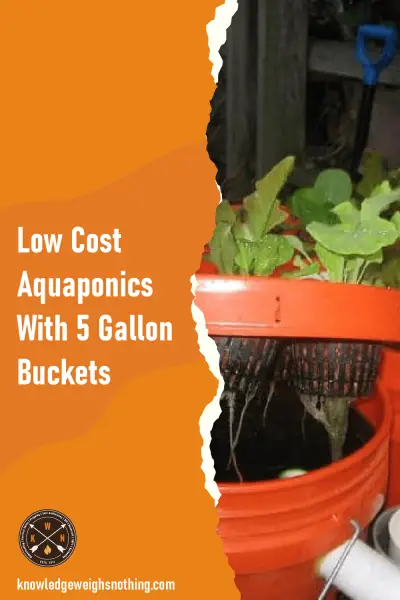
Aquaponics is a sustainable method of farming that uses both water and sunlight to grow

That’s right, there is a way you can get solar panels for free! I know
With the Russian invasion of Ukraine and the rising fuel costs and uncertainty, lots of

Three homemade dog food recipes PLUS two bonus dog snack recipes! These recipes are very

Mead makes for one of the oldest alcoholic drinks in history and, using a basic
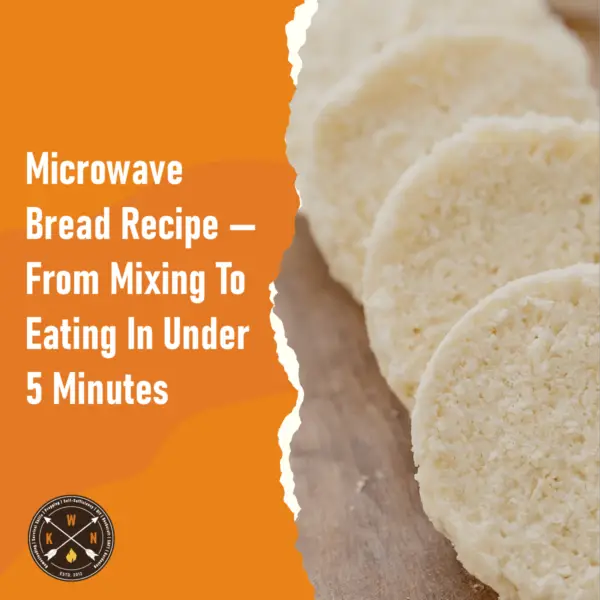
A simple, no-bake, no prove, microwave bread recipe that you can literally make from start
Aquaponics is a sustainable method of farming that uses both water and sunlight to grow
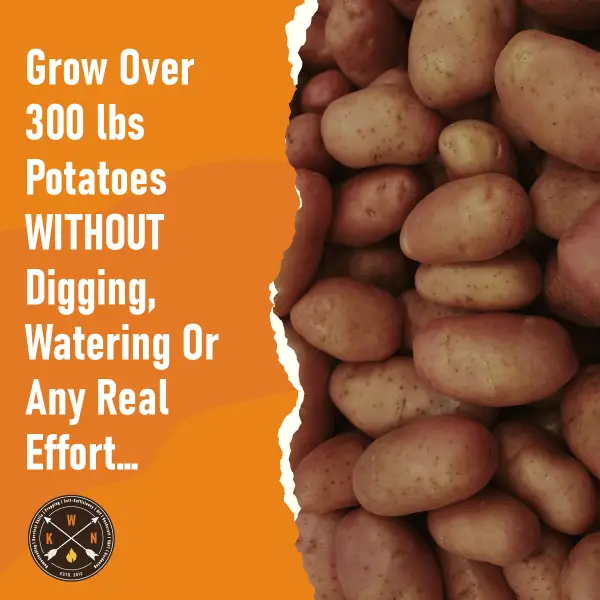
No matter whether you grow some vegetables in your back garden as a hobby or
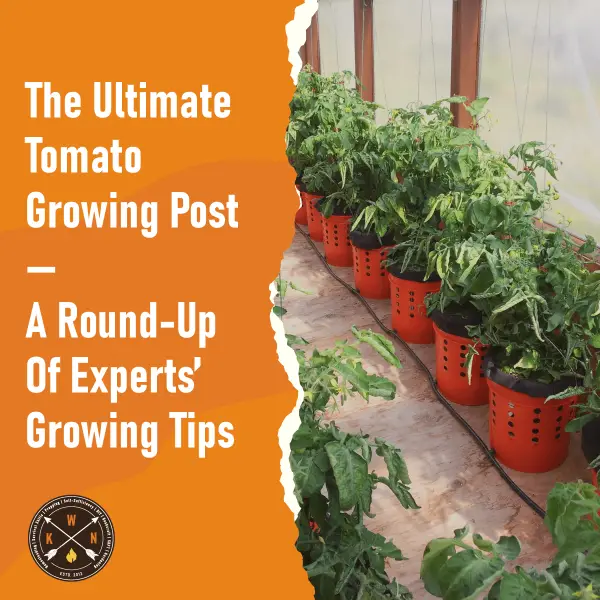
This post is a round-up of smaller posts that were previously featured on Knowledge Weighs

You can spend $100s on professional log cabin plans and blueprints, but before you do,

Yep, this post is about building a homemade DIY septic system from cheap plastic barrels
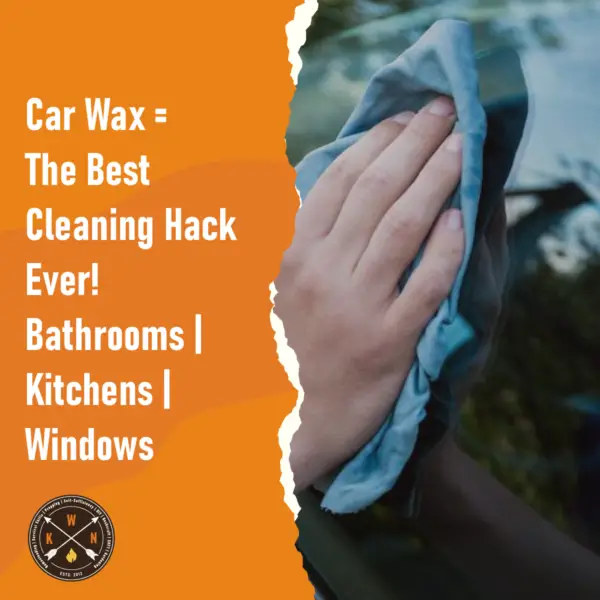
This car wax cleaning hack works on kitchen/bathroom surfaces, windows and mirrors. It takes seconds
If you’re looking for ways to get rid of fleas without having to use chemical

People spend lots of money on professional stink bug traps and stink bug sprays, but
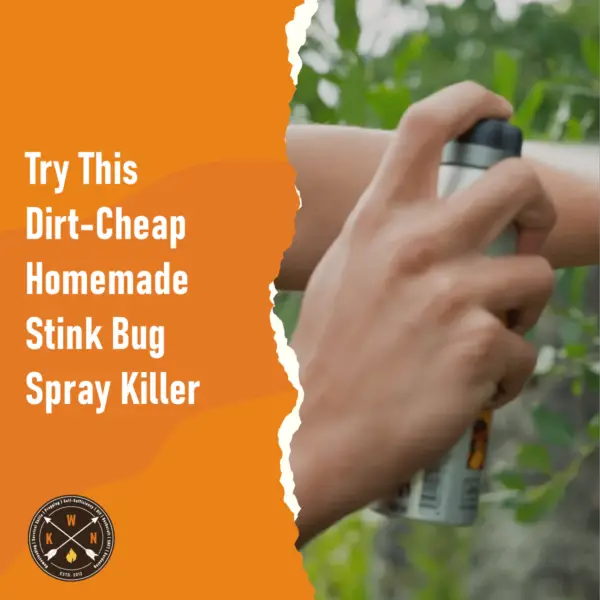
Stink bugs are becoming a huge issue throughout America. They’re killing crops and invading homes
Aquaponics is a sustainable method of farming that uses both water and sunlight to grow
Did you know that you can buy military (plus police and other government depts) vehicles,
With the rising cost of gas and electricity, many folks are looking at ways to
Aquaponics is a sustainable method of farming that uses both water and sunlight to grow
That’s right, there is a way you can get solar panels for free! I know
Yep, this post is about building a homemade DIY septic system from cheap plastic barrels
If you don’t know your Brown Recluse from a Wolf Spider, or a Black Widow

When disaster strikes there are two things that are immediately essential: getting out of the

$10 and a few hours simple DIY in the garage gets you a 60 lb